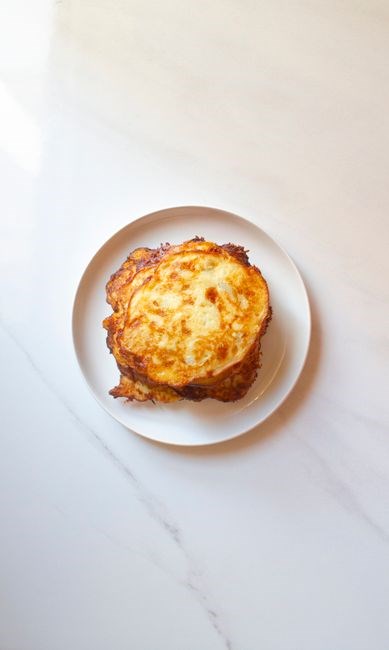
Trader Joe’s frozen hash‑browns deliver a crisp, golden bite when air‑fried. They’re pre‑seasoned, no defrosting needed, and cook in about ten minutes at 400°F. The result is a potato‑centered, savory snack that’s quick, easy, and satisfies breakfast cravings. Enjoy a crunchy, savory breakfast companion now
Equipment and Preparation
Use a standard 4‑quart air fryer. No defrosting; place frozen patties directly in the basket. Skip oil spray; the product’s natural oil prevents sticking. Preheat to 400°F, then add hash browns in a single layer for even crisping. Serve immediately for best texture Keep the basket level to avoid spills Chill
Do Not Defrost the Hash Browns Before Air Frying
Defrosting Trader Joe’s frozen hash‑browns before air‑frying is a common mistake that can ruin the texture and flavor profile of the finished product. The manufacturer’s instructions, as well as numerous cooking forums, emphasize that the patties are pre‑seasoned and pre‑cooked to a point where the interior is already partially cooked. When you thaw the pieces, the moisture content rises, causing the exterior to steam rather than crisp. This not only reduces the desirable golden crust but also dilutes the seasoning, leading to a bland center that feels soggy. Additionally, thawed hash‑browns are more prone to sticking to the basket, which defeats the purpose of using an air fryer’s rapid‑air circulation to achieve a uniform, crisp surface. The safest and most reliable method is to place the frozen patties directly into the pre‑heated basket at 400 °F (204 °C). The rapid heat transfer will render the exterior crisp while the interior remains tender. If you prefer a slightly softer bite, you can reduce the temperature to 375 °F (190 °C) and extend the cooking time by a minute or two, but do not defrost. By following this simple rule, you preserve the intended texture, flavor, and overall eating experience that Trader Joe’s promises. Remember, the key to a perfect hash‑brown is the contrast between a crunchy shell and a soft, seasoned interior—an outcome that is only achievable when the product remains frozen until it meets the hot air of the fryer. Enjoy crispy texture and savory flavor, and share this breakfast treat with friends.! Remember: no thawing keeps crispness. for crisp.!!!
Skip Spraying the Basket – The Patties Are Oily Enough
Trader Joe’s frozen hash‑browns are engineered with a thin, evenly distributed oil coating that serves as both a flavor enhancer and a natural non‑stick agent. The product’s packaging lists a modest amount of sunflower oil, which is deliberately chosen for its neutral taste and high smoke point, ensuring that the patties retain a crisp exterior without absorbing excess moisture. Because the oil is already present, the manufacturer’s instructions explicitly advise against spraying the basket with additional cooking spray. Adding spray can create a greasy film that interferes with the air fryer’s rapid‑air circulation, leading to uneven browning and a soggier interior. Moreover, the extra oil can accumulate on the basket’s surface, making cleanup more difficult and potentially reducing the lifespan of the basket’s non‑stick coating. In practice, placing the frozen patties directly into a pre‑heated basket at 400 °F (204 °C) yields a uniform, golden finish in about ten minutes, with the natural oil conducting heat evenly across each side. If you do choose to spray, use a light mist and wipe the excess with a paper towel before cooking; otherwise, the excess oil can cause the patties to steam rather than crisp. The key takeaway is that the built‑in oil is sufficient for a clean, crisp result, and skipping the spray simplifies the prep and keeps the basket cleaner for future use. Enjoy the hassle‑free, flavorful experience that comes from trusting the product’s design and following the straightforward, no‑spray recommendation. This method keeps the basket clean, reduces cleanup time, and ensures every patty stays crisp and flavorful and delicious.

Air Fryer Settings
Set your air fryer to 400 °F (204 °C) for a crisp exterior. Pre‑heat for 3 minutes, then place patties in a single layer. Cook for 10 minutes, flipping halfway to ensure even browning. This temperature and time yield golden, crunchy results. Cook until golden, crisp, and serve hot
Optimal Temperature for Crispy Exterior
When cooking Trader Joe’s frozen hash‑browns in an air fryer, the key to a mouth‑watering, golden‑brown crust lies in the precise temperature setting. 400 °F (204 °C) is the recommended sweet spot. At this heat, the surface of each patty quickly reaches a temperature that causes the Maillard reaction, turning the outer layer into a crisp, caramelized shell while the interior remains soft and fluffy. Setting the unit lower—say, 350 °F—tends to produce a soggy or unevenly browned exterior because the heat is insufficient to evaporate moisture rapidly. Conversely, pushing the temperature above 420 °F can scorch the edges before the center has cooked through, leading to a bitter taste and an unappealing texture. A 400 °F setting provides a balanced environment where the natural oils in the hash‑browns render out, enhancing flavor. For models that exhibit temperature fluctuations, a brief pre‑heat period of two to three minutes helps stabilize the heat. This guarantees that each patty develops a crisp, golden exterior that holds up well when served, while the inside stays moist and delicious.
Airflow inside the fryer also matters. A well‑ventilated basket ensures hot air circulates around the patties, promoting even browning. If your model has a removable basket, consider a perforated liner to prevent the patties from sitting in their own juices, which can hinder crispness. A slight tilt of the basket can help excess moisture drain away, further encouraging a dry surface. For the standard 1‑inch thick Trader Joe’s patties, 400 °F remains the most reliable setting across a range of air fryer brands; By adhering to this temperature guideline and paying attention to airflow, you’ll consistently produce hash‑browns that boast a satisfying crunch on the outside and a soft, flavorful interior. The result is a very crisp exterior that pairs well with any breakfast.
Cooking Duration – 10 Minutes for Golden Result
For Trader Joe’s frozen hash‑browns, a consistent 10‑minute cook time at 400 °F yields the ideal golden exterior and tender interior. Begin by preheating the air fryer for two minutes to ensure the unit reaches the target temperature. Place the patties in a single layer, avoiding overlap, so that hot air can circulate freely. After the initial five minutes, pause the cycle and give the basket a gentle shake; this redistributes the patties, allowing each side to receive equal exposure to the heat source. Resume cooking for the remaining five minutes, watching for a deep amber hue that signals readiness. If your model has a rapid‑heat feature, you may shorten the first half to four minutes, but the total time should still approach ten minutes to achieve the classic crispness. Once the timer ends, allow the hash‑browns to rest for a minute; this brief pause lets steam escape, preserving the crisp crust. Serve immediately, optionally topping with a sprinkle of fresh herbs or a dash of hot sauce for added flavor. The 10‑minute benchmark is proven across multiple air fryer brands, ensuring a reliable, mouth‑watering result every time. While the standard 10‑minute window works for most air‑fryers, slight adjustments may be needed based on unit size and power. For smaller 2‑quart models, a 9‑minute cook often suffices; larger 5‑quart machines may need an extra minute to fully brown thicker edges. If you want a crisper finish, add 30 seconds to the final five minutes; for a moister interior, cut 30 seconds. Monitor the first batch closely to fine‑tune timing for your appliance. Enjoy. Now
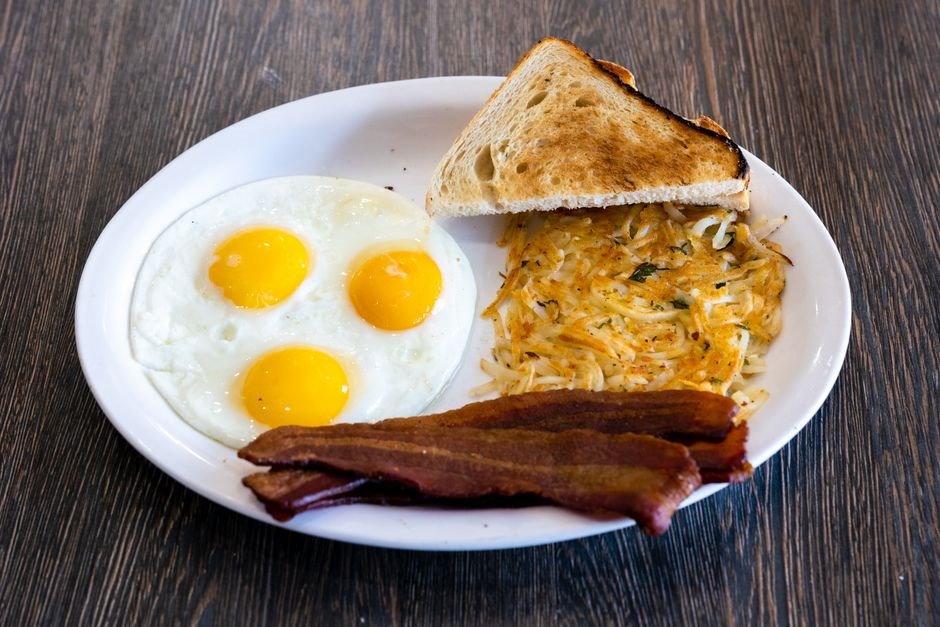
Cooking Process
Place frozen hash‑browns in the air fryer basket in a single layer. Preheat to 400 °F, then cook for 10 minutes. Shake or flip halfway to ensure even browning. Avoid overcrowding to keep the exterior crisp and the interior tender. Keep the basket level for even heat. let steam!!!
Shake or Flip Midway to Ensure Even Browning
When the hash‑browns hit the air‑fryer, the initial burst of heat crisps the outer layer. After about five minutes, pause the cycle and give the basket a gentle shake or use tongs to flip each patty. This simple motion redistributes the surface area exposed to the hot air, preventing one side from becoming overly browned while the other remains pale. The key is to keep the patties in a single, even layer so that the airflow can reach each piece uniformly. If you skip the shake or flip, the edges may over‑cook, creating a burnt crust that masks the tender interior. By interrupting the cooking process, you also allow steam to escape, reducing sogginess and promoting a crispier texture. Aim for a total cooking time of ten minutes, with the shake or flip occurring at the five‑minute mark. This method ensures a consistent golden finish on all sides, delivering the classic Trader Joe’s hash‑brown experience every time. Remember that the air‑fryer’s airflow is strongest at the top, so placing the patties slightly off‑center can help achieve a uniform crisp. If your model has a basket rotation feature, enable it to eliminate the need for manual shaking. For an extra crunch, lightly spray the tops with a neutral oil before the final minute; this step is optional but can enhance the golden hue. Finally, let the hash‑browns rest for a minute after cooking; this allows steam to dissipate and the exterior to firm up, preventing sogginess. If you prefer a crispier edge, press the patties lightly during last minute.
Pack Patties in a Single Layer, No Overcrowding
When arranging the frozen hash‑browns in the air‑fryer basket, the spacing between each patty is crucial. A single, even layer ensures that hot air circulates freely, producing a uniform crisp on every side. Overcrowding creates pockets of trapped moisture, which can steam the patties instead of frying them, resulting in a soggy center and uneven browning. To avoid this, lay the patties side‑by‑side with a small gap, allowing the air to flow around each piece. If your basket is larger than the number of patties you wish to cook, leave the remaining space empty rather than piling extra pieces on top. This practice not only improves texture but also speeds up cooking, as the heat can reach the surface more efficiently. For those using a smaller air‑fryer, consider cooking in two batches; this keeps the heat distribution consistent and prevents the machine from becoming overloaded. Additionally, placing the patties on a parchment‑lined tray can prevent sticking and make cleanup easier, but ensure the parchment does not block airflow. Finally, after the first batch has finished, give the basket a quick shake before adding the next set; this resets the airflow pattern and keeps each patty crisp. By respecting the single‑layer rule, you’ll consistently achieve that coveted golden exterior and tender interior that defines Trader Joe’s hash‑browns.
Preheat the air‑fryer to 400°F before adding the patties, keeping the basket level for even cooking. After cooking, let the hash‑browns rest a minute to lock crispness, then serve for peak flavor.and enjoy rightaway.
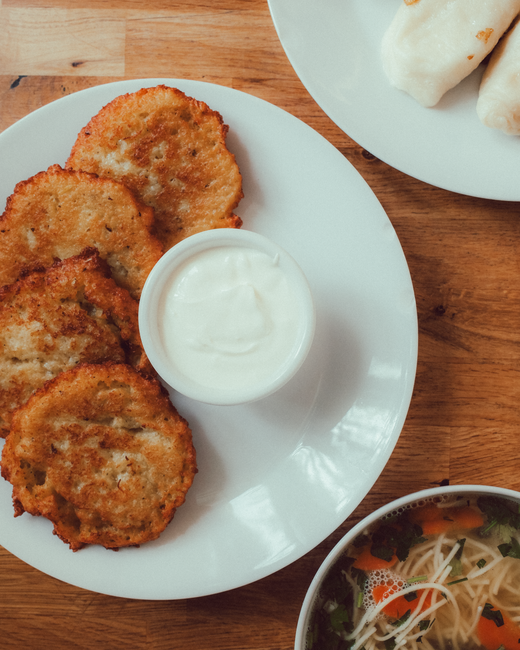
Serving and Portioning
Measure cooked hash browns, divide weight by servings, and plate accordingly. Use a digital scale for precision. Portioning ensures balanced nutrition and prevents waste. Serve immediately for best crispness, or reheat briefly in a skillet to restore texture. Enjoy! and share.
Measure Portion Weight After Cooking for Accurate Servings
After air‑frying, let the hash‑browns cool for a minute, then place them on a clean, flat surface. Use a digital kitchen scale to weigh the entire batch, excluding the container. Record the total weight in grams. Decide how many servings you need—commonly 2–4 per person. Divide the total weight by the number of servings to get the exact weight per portion. This method ensures each plate receives the same amount of crisp potato, preventing over‑or under‑serving. For recipes that call for a specific calorie count, adjust the portion size accordingly. If you prefer a lighter plate, simply reduce the number of portions; if you want a heartier meal, increase the portion count. Always re‑weigh after any adjustments to maintain consistency. This precise approach is especially useful when feeding a group or when tracking macros for a diet. By measuring after cooking, you account for moisture loss and any expansion that occurs during the air‑frying process, giving you a reliable serving size that matches the original recipe’s intent.
When storing leftovers, place the cooled hash‑browns in an airtight container and refrigerate. They stay crisp for up to 3 days. To reheat, use the air fryer at 350°F for 3–4 minutes, shaking halfway. Avoid microwaving, which can make them soggy. For a quick side, sprinkle fresh herbs or shredded cheese before reheating to add flavor. This technique keeps the texture intact while boosting taste.
Use a scale for precision
Consistent portioning supports nutrition today
Enjoy hash browns
Tips & Troubleshooting
Below are practical pointers and common fixes to help you achieve the perfect crisp and flavor when using your air fryer for Trader Joe’s frozen hash‑browns. These suggestions address sticking, uneven browning, and texture issues that can arise during cooking.
- Pre‑heat the air fryer: A 3‑minute pre‑heat at 400°F helps the surface hit the right temperature immediately, reducing sogginess.
- Shake or flip halfway: Turn the patties after 5 minutes to promote even browning and avoid one side becoming over‑crisp.
- Adjust temperature for desired crisp: If the exterior is too soft, increase to 425°F for the last 2 minutes; if too hard, lower to 375°F.
- Check moisture content: Excess moisture can cause steam pockets. Pat the patties dry with a paper towel before air‑frying.
- Cool before serving: Let the hash‑browns rest for 1–2 minutes; this allows steam to escape and the exterior to firm up.
- Reheat properly: To reheat leftovers, use 350°F for 3–4 minutes, shaking once. Avoid the microwave to preserve crispness.
By following these troubleshooting steps, you’ll consistently produce golden, evenly cooked hash‑browns that taste fresh and satisfy your appetite.
Pair with hot sauce for a spicy kick.
Serve immediately for crunch.